Copy this notebook to your home directory (and star/favorite it to find it easily on your sidebar)
First time setup
The first time you use this process on a new hub, you will need to configure your Github account(s) to allow them to be accessed by this hub. To do that, visit this URL:
https://
You will see a page similar to this:
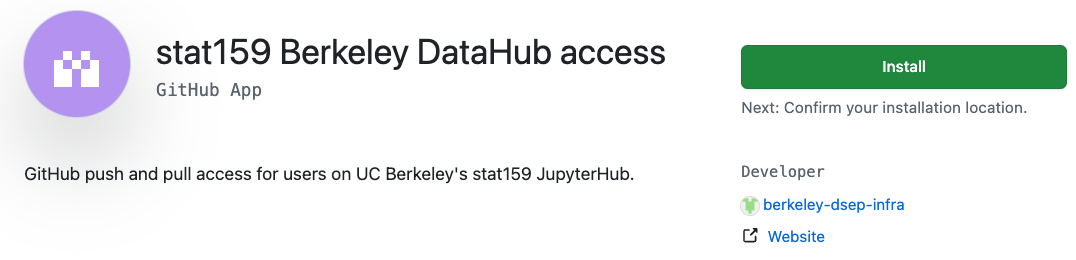
Click on the green “Install” button to the right.
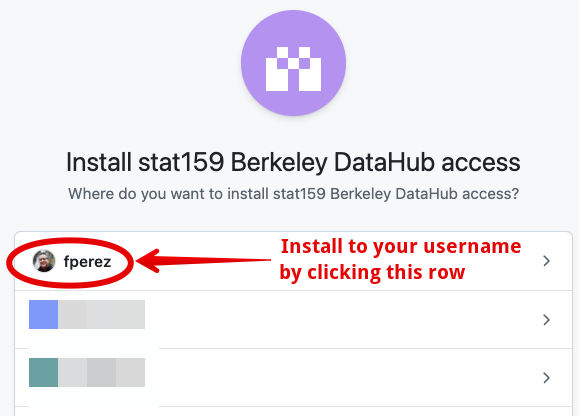
That will take you to a page like the image below, where you can choose which organization(s) on Github you want to allow this hub to send data to. For most users it may only be your personal account, but you can choose, if you have the necessary pemissions, to push to repos owned by other orgs than your personal user (do this only if it is consistent with the policies and practices of said organizations).
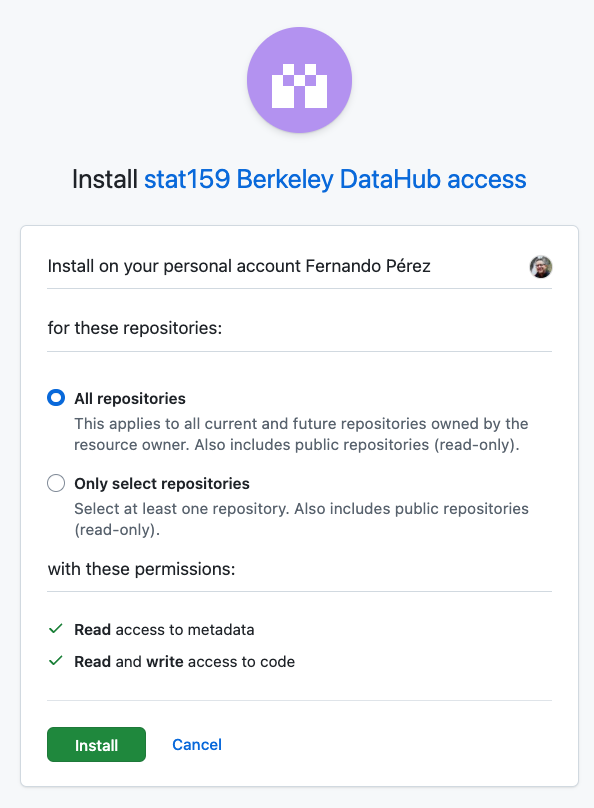
Once you click on the row, you’ll see a page like this, where you can choose whether to let the hub push to all your repos (pick that option for now), or to have more fine-grained control and manually select only some repos to grant access to:
You can later return to the URL above to change this configuration if needed. You will need to repeat this process only if you decide to change these permissions or add new organizations, otherwise it’s a one-time setup.
Once you have completed the above, run the cell below to activate GitHub access
You can click on the link it produces, which will take you to:
https://
where you will need to paste a code. Note that this code will already be copied to your clipboard!
So the sequence for you is
Run the cell.
Click on the link.
Paste (
Ctrl-VorCmd-Vdepending on your computer)
That’s it!
import gh_scoped_creds
%ghscopedcreds